Monday, November 28, 2005

Tuning 4) F4 1000; Idle, throttle, blipping issues

submitted by MikeT

If anyone is wondering about why their MV1000 revs differently/sluggish when put in gear, I suspect that MV have done this by retarding the ignition timing, and progressivly advancing it again, so all's back to std by about 3000 rpm. The "sluggish" part is activated by the neutral switch to make the bike tractable in the very low rpm's, don't forget all the jap multi cylinder 1000's have a twin throttle system were you open one set and the engine vacuum/ECU opens the second set, MV don't have the room to do that due to the compact nature of the airbox etc. You could try"cutting" the neutral light input to the ECU which may get rid of the sluggish under 3000rpm bit, I must admit if you take off with some "gusto" and it goes over 3000rpm whilst also slipping the clutch it does rear it's head up!.

The other "no blipping" stuff that happens on the 1000 your going to need to adjust to, a power commander helps but it's still there, the bike basically monitors how fast it's engine is slowing down and then starts the "EBS" system, this system supplies air and fuel to cylinder two which opposes the braking torque, BUT it also supplies fuel to cylinder three, which doesn't want any! to get around this the "EBS" control unit removes the 12v supply to number three injector ( injectors always have 12v on them, the ECU shorts them to ground to "fire" them, and this MV ECU grounds them in pairs (1&4 2&3) hence the need to remove the 12v from injector three to stop it flooding the cylinder)

I am pretty certain when decelerating the "EBS" works to around the 5000 rpm mark (maybe 4700rpm) it then shuts all fuel off to 3000 rpm while/if still decelerating where you may notice a slight "kick" as some fuel is re-introduced, the "no blipping" on downchanges only happens in this 3000-4700 rev band when correctly fuelled with a power commander, and maybe less than that 3500-4500? I'm not too sure.You can improve it by blipping slower within these points to give the injection time to revert back to "acceleration" mode. It's not a perfect system which is why the new Senna has a different ECU , it's different, not wrong, once you adjust to it the corner entry lack of engine braking is amazing when the bikes "on song" in the 7000ish rpm's, it does work pretty good when you use the bike hard, even sounds good! more like a three cylinder when on the over-run.
Regards, Mike

Wednesday, November 23, 2005

Paint Codes

F4 750 Red/Silver:

Fairings: PPG paint codes
PPG 954642 Red
PPG 954643 Silver

or NEXA paint codes
WVD7B Red
WVD8B Silver

Wheels: PPG 954644 2000-2002 Anthracite
PPG Alu grey Sebino 35204189 & Clear Sebino 35209052 2003- Silver
PPG 954663 Gold Magnesium for Oro

Frame: PPG 954644


F4 750 Silver (Diamante):

Farings: PPG 950042 Silver OR updated from Emotouk.com: PPG 0042 in UK shops
Wheels: PPG 954644 2000-2002 Anthracite
Frame: PPG 954644


F4 750 Senna:

Fairings: PPG*0038 Metalic Black & PPG*0039 Metallic Grey
Wheels: Pulverlac 1111950506 Red & Sebino 35209052 transparent/clearcoat
Frame: Palinal 255I0005 & Palinal 211XH578


F4 750 SPR:

Fairings: PPG T0036/1 + PPG T0036/2
Wheels: Alu grey Sebino 35204189 & Clear Sebino 35209052
Frame: PPG ?

F4 1000 Red/Silver:
Fairings: F4 AGO Red Painting (Code PPG ITP 473101)
F4 AGO Silver Painting (Code Palinal 928XV025)
Wheels: Alu grey Sebino 35204189 & Clear Sebino 35209052
Frame: MV Brutale Metal Anthracite Grey Painting (Code Palinal 211XH893)
Misc: Mirror supports: Metal Bronze Painting (Code Palinal 211E144)
Electrical Covers: Black Painting - CRC 1951-6 (Code Palinal 211E357)

F4 1000 Ago:
Fairings: F4 AGO Red Painting (Code PPG ITP 473101)
F4 AGO Silver Painting (Code Palinal 928XV025)
Wheels: Custom
Frame: F4 AGO Red Painting (Code PPG ITP 473101)
Misc: Mirror supports: Metal Bronze Painting (Code Palinal 211E144)
Electrical Covers: Black Painting - CRC 1951-6 (Code Palinal 211E357)

F4 1000 Blue/Silver:
Fairings: CRC Metal Blue (Code Palinal 928XV035)
F4 AGO Silver Painting (Code Palinal 928XV025)
Wheels: Alu grey Sebino 35204189 & Clear Sebino 35209052
Frame:
MV Brutale Metal Anthracite Grey Painting (Code Palinal 211XH893)
Misc: Mirror supports: Metal Bronze Painting (Code Palinal 211E144)
Electrical Covers: Black Painting - CRC 1951-6 (Code Palinal 211E357)

F4 1000 Tamburini:
Fairings: F4 AGO Red Painting (Code PPG ITP 473101)
CRC Intense Black Painting (Code Palinal 929R486)
*CRC Gloss Transparent Painting (Code PPG 228.880) *-only on side fairings,
undercowl & front mudguard
Wheels: Custom/Marchesini Gold
Frame: MV Brutale Metal Anthracite Grey Painting (Code Palinal 211XH893)
Swingarm, Frameplates: F4 AGO Metal Matt Grey Painting (Code Palinal 211.A704)
Misc: Mirror supports: Metal Bronze Painting (Code Palinal 211E144)


Brutale S:

Tank, Painted Tail Colour combination A CRC Red : Palinal 926XH348D
Colour combination B Metal Matt Black : Palinal 925XH982
Color combination C: F4 AGO Silver (Code Palinal 928XV025) +
CRC B4 Red (Code Palinal 926XH348D)
Color combination D: CRC Intense Black Painting
(Code Palinal 929R486)


Tail piece, Air box side fairings, Ignition switch cover, Dashboard cover, Fuel tank , side fairings, mirrors: Brutale Metal Anthracite Grey: Palinal 926XH893 Multicryl

Frame: Color combinations A,B: MV Brutale Metal Anthracite Grey Painting
(Code Palinal 211XH893)
Color combinations C-D: F4 AGO Frame Red Painting (Code Palinal 211XH987)

Rear Sub-Frame, Exhaust Clamp: MV Brutale Metal Anthracite Grey Painting (Code Palinal 211XH893)

Steering base lower triple clamp, swingarm, Frame Plates: Black Anodized

Wheels: Alu grey Sebino 35204189 & Clear Sebino 35209052


Brutale Oro:

Tank, Painted Tail (Colour combination A CRC Red) : Palinal 926XH348D

Tail piece, Air box side fairings, Ignition switch cover, Dashboard cover, Fuel tank , side fairings, mirrors: unpainted carbon fibre

Mirrors: Palinal 926XH893 Multicryl

Frame, Rear Sub-Frame, Exhaust Clamp: Palinal 211XH893

Steering base lower triple clamp, swingarm, Frame Plates:
Brutale Gold Magnesium Painting: Palinal8814338 + Palinal 1211E359

Wheels: Brutale Gold Magnesium Painting: Palinal8814338 + Palina1211E359


Partial source:

http://www.motociclando.com/forum/viewtopic.php?t=1675

special thanks to Richard Sawkins, Jerry Finley/Pirate's Lair


-JamesC

Tuesday, November 22, 2005

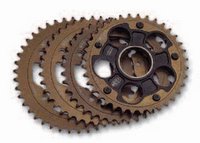
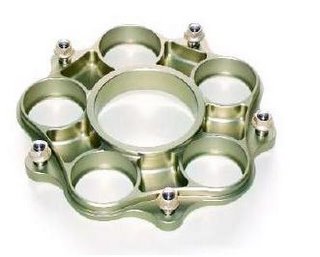
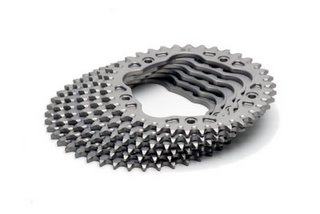
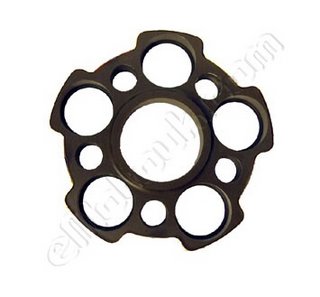
Quick Change Sprockets for 520 chain: 750cc Brutale and F4

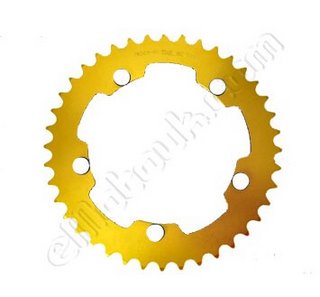
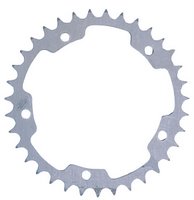
A popular modification for 750cc models is the addition of an aftermarket quick change sprocket. The Brutale 910 and F4 1000 come with a quick change rear sprocket for a 525 chain. The below kits could be used if performaing a 520 chain conversion on these models. This allows use of aftermarket and widely available sprockets in a variety of sizes.


Fast by Ferracci
http://www.ferracci.com/

35 Tooth through 44 tooth applications


STM Racing Italy

USA Source:
http://www.lockhartphillipsusa.com/rs/showProduct.cgi?prodID=9593

36 through 44 tooth applications


Motorrad Lust

http://www.motorrad-lust.de/


39 through 42 tooth applications


Performance Parts.de

www.performanceparts.de


36 through 43 tooth applications


Emoto/Talon

www.emotouk.com
41-41 tooth applications


-JamesC

Cam Chain Tensioner reset or rebuild

submitted by Dan

Re-Setting Cam Chain Tensioner


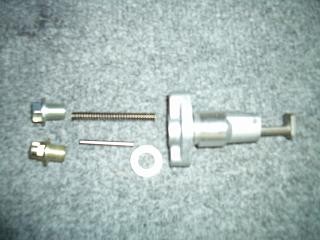
Here is a view of a new cam chain tensioner disassembled for reference.

photo courtesy JamesC

This a rare condition but never the less happens, the tensioner gets stuck at its maximum position causing the over tensioning of the cam chain not to mention the awful noise the engine emits while the chain slack is forced to rattle at the wrong location.

This may also cause undue wear on the two cam gears and single crank gear that drives this chain. Normal chain and gear replacement interval is 30000km.


photo courtesy JamesC

The above symptom occurred on my F4 and is fairly straightforward to rectify.

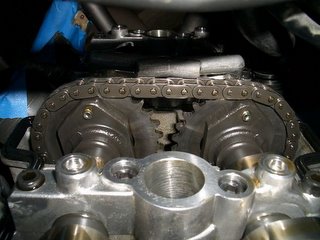
The side fairings and belly pan should first be removed followed by the front nose cone, the electrical covers and air tubes. This clears way to loosen the top radiator fixing screw on the left side and allowing the radiator to be released and moved forward giving just enough room to access and dismantle the cam chain tensioner. The cam chain tensioner is located between cylinders two and three by the exhaust manifold.


photo courtesy JamesC

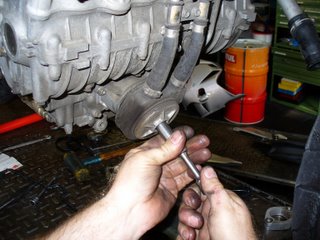
First stage is to undo the centre screw (10mm). Undo it all the way, take care not to let it go it as it is spring loaded and will eventually come out including the spring, a small rod and a washer.
Next undo the two screws (8mm) securing the tensioner body and prise it out of the block by rotating it back and fourths while pulling outwards, it will feel a bit stiff due to the rubber ring washer but eventually come out.

Once the tensioner is out you will clearly see the mechanism, it is designed as a ratchet with teeth and a spring loaded stop so once the arm reaches its optimum position with the help of the long spring, there it stays (now I understand why the complete assembly costs £125).

To reset, release the stop and push the tensioner arm all the way in. That’s it.

The rest is in the re-assembly sequence, first replace the tensioner body back into the block and tighten up top and bottom screws to required torque (8Nm). Then insert the centre assembly spring, rod and not forgetting the washer. Tighten up to the required torque (8Nm).

[From the Factory Workshop Manual]:
""Lock the screw cap by hand till you feel the tensioner extend, then lock it with a 8 Nm torque
Acting this way the chain tensioner is adjusted."

Once assembled, start the engine and let the tensioner find its own setting as the chain slaps around for a few seconds after which all cam chain rattles will disappear and all will sound as it should.
Job done!


edited JamesC

Monday, November 21, 2005

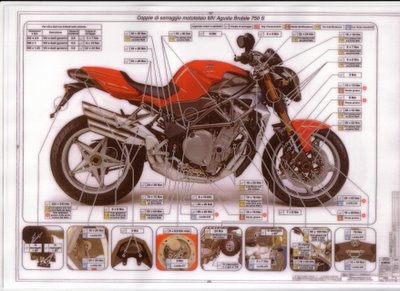
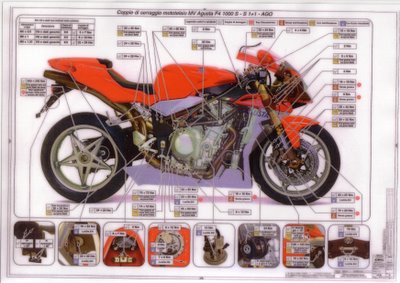
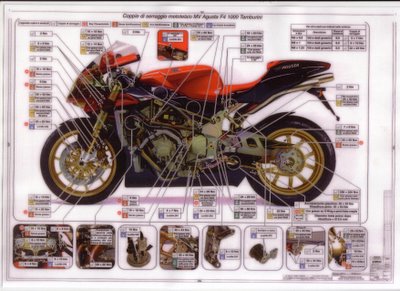
Torque Specifications Illustrated: Brutale, F4 1000, Tamburini


contributed by HansB, JamesC, Motociclando

Click on picture to enlarge to full size.
Save to pc to allow zoom.


Brutale 750 Left Side:


Brutale 750 Right Side:


Brutale 910 Left Side:


Brutale 910 Right Side:


F4 1000 Left Side:


F4 1000 Right Side:


Tamburnini Left Side:


Tamburini Right Side:


-blogged/edited JamesC

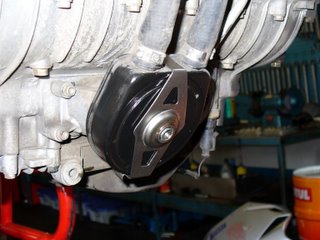
Heat Exchanger modification for 4-2-1 MVSP or Ti Header Installation

Contributed by HansB.

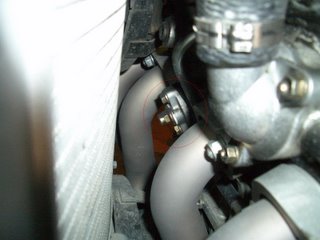
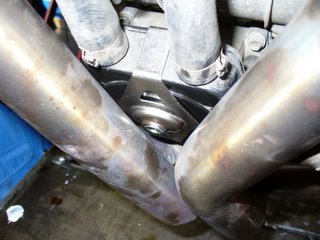
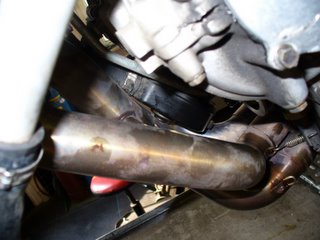
When installing new MVSP/Corse or Ti headers a part must be changed in order to clear the new header. This applies to chassis 1-4145 - primarily 2000/2001 F4 750 models. The new fitment of the heat exchanger allows clearance to the new header.

The required parts were arriving with the Ti or Stainless headers at the time but now that stock is depleted may have to be ordered seperately (one each of the following):

(1) 800092478
(1) 8000A1544
(1) 800099459


Preparation:

-Remove side, lower and nose fairings
-Drain radiator
-Drain oil
-Remove exhaust
-Remove radiator(s)
-Remove exhaust headers

Process:
-Loosen old existing bolt and disk from the heat exchanger


-Note aluminum washer and o-ring inside unit


-Place the washer on a new stainless bolt and the new bracket is fitted from above and clicks onto the heat exchanger. This fitment also prevents the bolt from loosening it's self.


-Note new clearance on offer from new bracket


-Refit radiators
-Fill Oil
-Fill radiators
-Refit nose, side and lower fairings


-edited by JamesC

Thursday, November 17, 2005

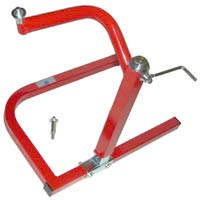
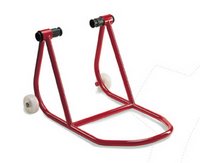
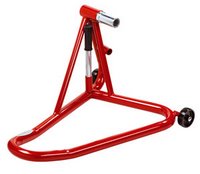
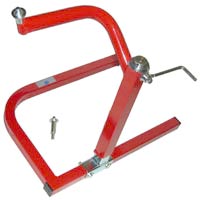
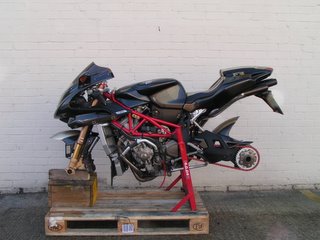
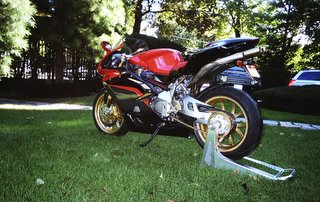
Stands, Work Stands for Front and Rear


MV Agusta Factory parts:


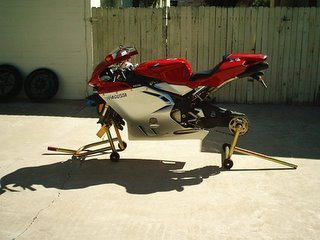
MV Factory rear stand p/n 800092642


courtesy Yannis

MV Factory windup front stand p/n 800095807


MV Agusta Corse front stand


MV Agusta Corse rear stand


--
FG Moto stands:
http://www.redracingparts.com

FG Moto front windup stand #CA04


Also requires MV adaptor #195101


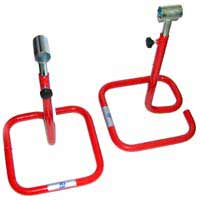
FG Moto rear stand with wheels #CP05MV


FG Moto rearset jackstands #CPD01 (for bikes with solid rearsets, not folding OEM)


-
Pit-Bull Stands
http://www.pit-bull.com/

Pitbull one armed rear stand MV Agusta(only for wheel removal)


courtesy Andy - please note, use of front pit-bull forklift stand is not recommended on MV without stabilizing the caliper brakets from rotating. Some owners use a rod through the caliper braket from Left side to Right side in order to keep them inline and thus not slip off the pit-bull forklift stand. Strongly suggest use of one of the other front stands on this page.

Pitbull One Armed Reversible rear stand MV Agusta (for wheel and sprocket removal)


-

Handy Industries Stands:
http://www.handyindustries.com

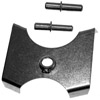
Handy Industries rear stand Item Number 13004 with MV pin Item # 12997

-
Abba Stands:
http://www.abbastands.co.uk/

Abba chassis swingarm stand (also order: Fitting Kit for: MV F4 750/1000)


courtesy Ralph

Abba front windup stand (unconfirmed MV fitment!)


-
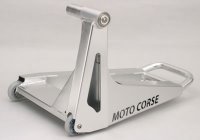
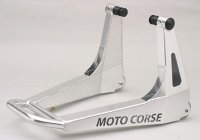
Motocorse Stands:
http://www.motocorse.jp and http://www.motocorse.net

courtesy Yannis

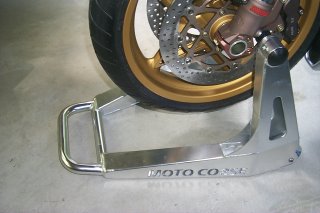
Motocorse rear alu stand


courtesy Yannis

Motocorse front stand for caliper bracket


courtesy Yannis

Motocorse jackstand for solid rearsets (not folding OEM)


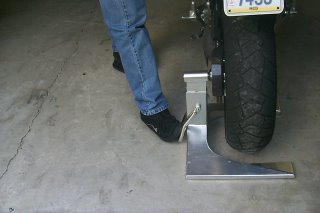
Motocorse Rear Pump up Stand:

courtesy Yannis

Anderson Stands:
http://www.andersonstands.com/swingarm_stands.htm


MV rear stand normal:

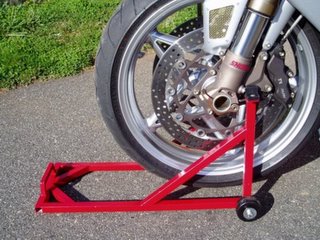
MV rear stand space saver with mobile castors:

Pirate's Lair Front stand:

http://www.piratesk12site.net/MVfrontlift.htm

Carpimoto Front Lift stand

http://www.carpimoto.it/content/prod/l_EN/s_234_Stands/pr_28117_Front_Wheel__Fork_Stand_CM03D_for_Ducati_e_MV_Agusta.htm

-Thanks to BlackBruty/Vlad Drac

=========================

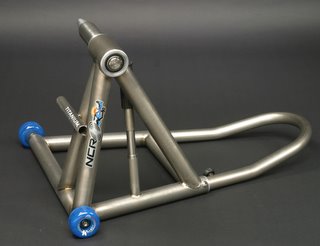
NCR Titanium Stands:

http://www.ncrfactory.com/

USA Orders:

http://incengine.org/incEngine/?content=categories&keyword=OFF&category=10038

NCR Titanium Rear Stand. Special order. Specify Ducati Corse rear axle or MV Axle to get correct size. Only 1kg!!

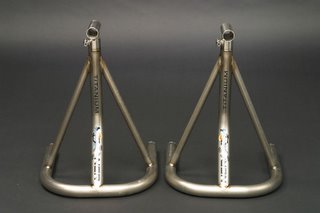
NCR All Titanium Rearset Jack Stands

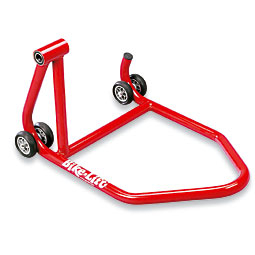
Bike Lift Single Sided Swingarm Stand:
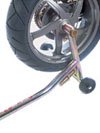
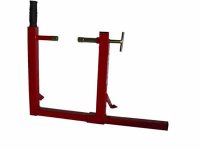
Order with Item # (E) PMM-01 MV Agusta F4 pin

http://www.ppblift.com/